 |
Before Start |
|
|
Know More |
|
|
Just Do It! |
|
|
Appendix |
|
|
Help->Know More->Manage Photos
Photos can be managed when "Image" is checked from
Image/Audio
Transform
-
IphotoDVD support all
formats including BMP, JPG, PNG, TIF, PCX, PGM, PICT, TGA, WMF, EPS
-
Click "Add" from the "Editorial
Shortcuts" to launch the following window
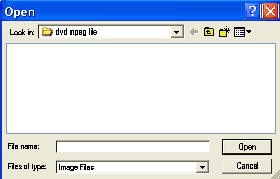
-
Search and select the wanted
photo or photos, then click "Open" from the above window
-
Repeat Step 2 and 3 to import
all the wanted photos
-
It is the same to use "Add"
under "Edit" from the Main Menu to add
photos with the same step as Step 2 to 4.
-
Photos can be also added by
Open an existing project.
-
Click "Remove" from the "Editorial
Shortcuts" to remove the selected photos
-
It is the same to use "Remove"
under "Edit" from the Main Menu.
-
Click "Clear" from the "Editorial
Shortcuts" to remove all the photos without selection
Double click and drag to move
the picture
-
Click " "
from the "General Shortcuts" to
launch the following window. "
from the "General Shortcuts" to
launch the following window.
-
Click "Ok" to proceed
-
"Preview" under "Action" from the Main
Menu has the same function.
-
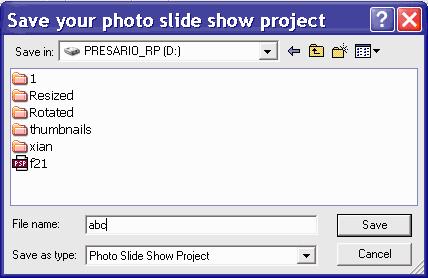
Click " "
from the "General Shortcuts" to
launch the following window (optional if you have not save the project you
created) "
from the "General Shortcuts" to
launch the following window (optional if you have not save the project you
created)
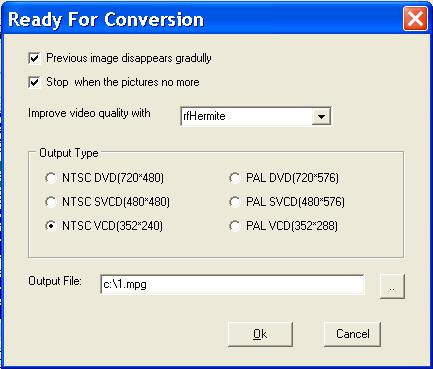
then the "Ready
For Conversion" window will display
-
Check "Previous pictures
disappear gradually" box to have gradual transition
-
Choose "Improve video quality
with" from the list
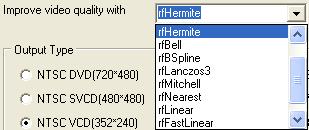
Select "None" if no desire to improve video quality
-
Check the "Output Type" by
clicking, detail...
-
Define the "Output File" in
the blank and click " "
to browse "
to browse
-
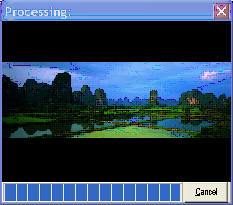
Click "Ok" to proceed.
Conversion process is visible as showed beblow:
-
Click "Cancel"
to stop the conversion if needed
-
"Convert" and "Stop" under "Action" from the
Main Menu have the same functions.
|


